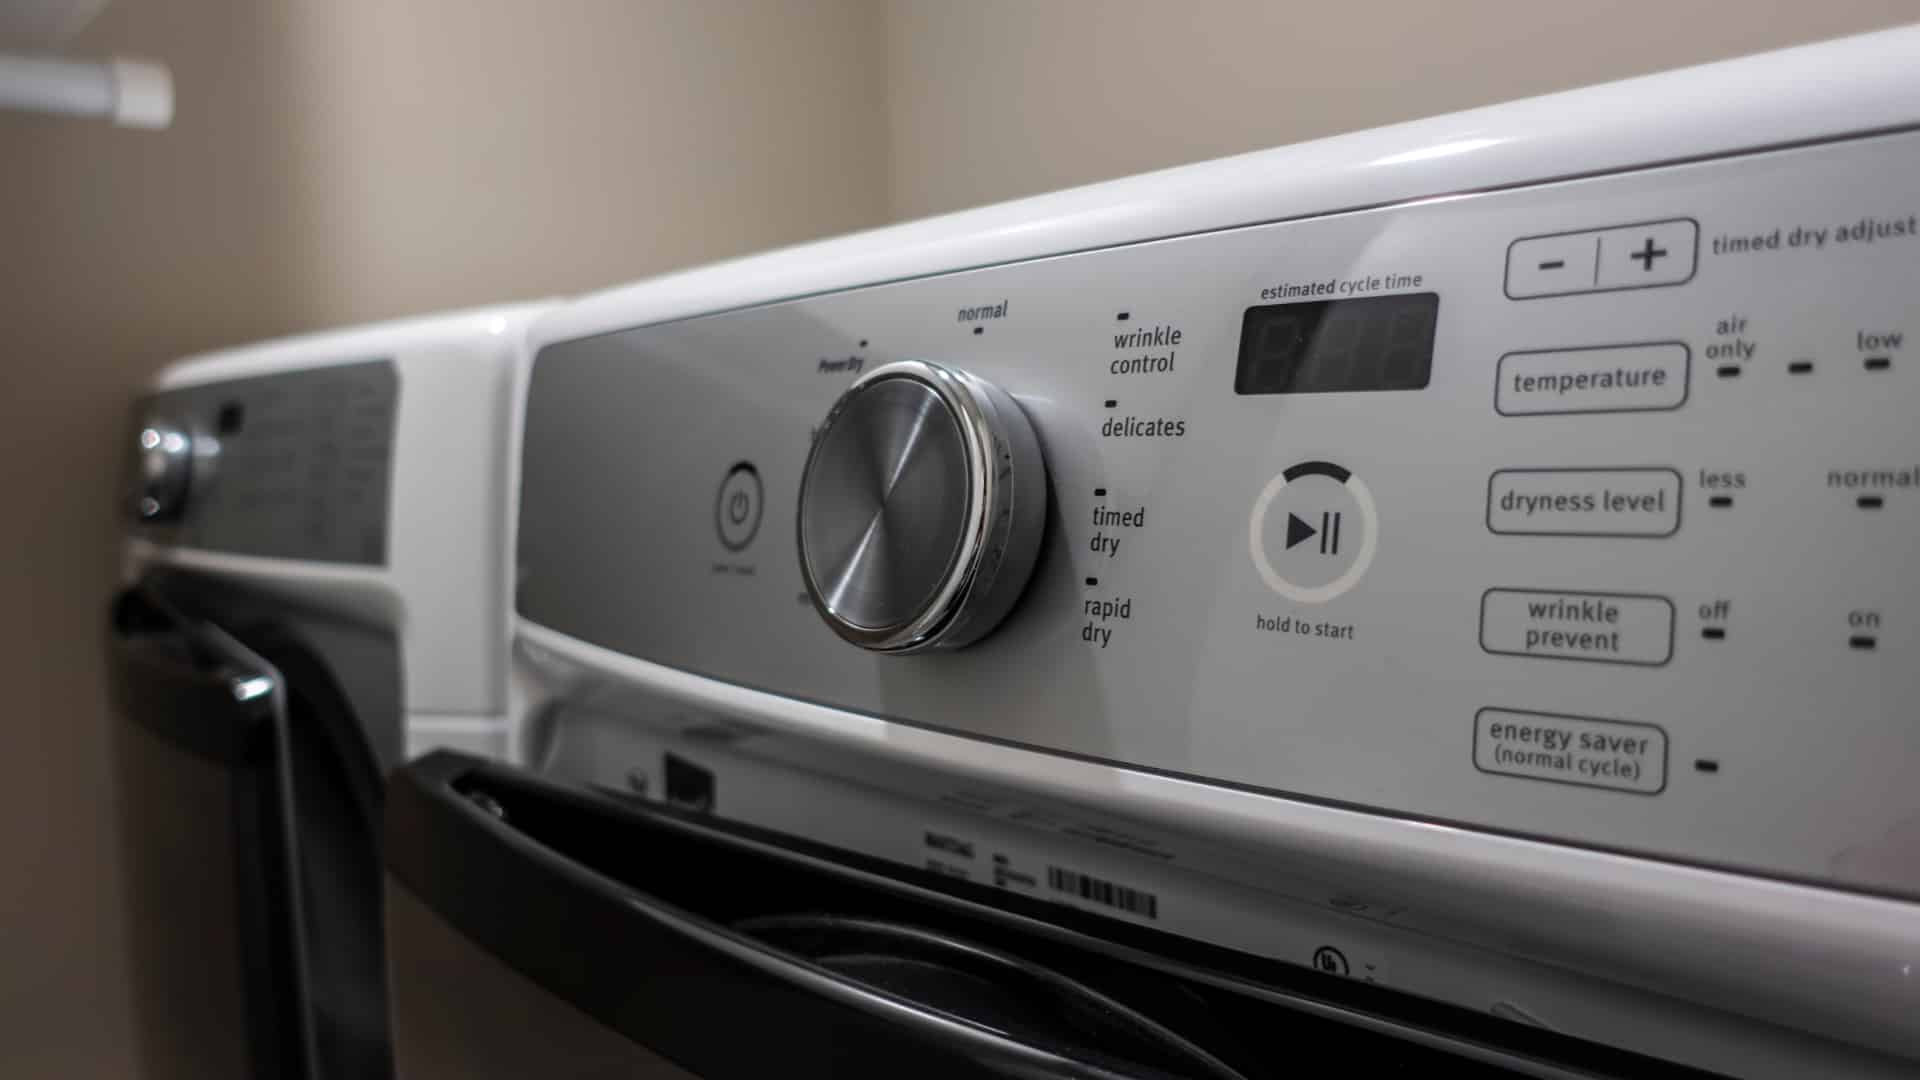
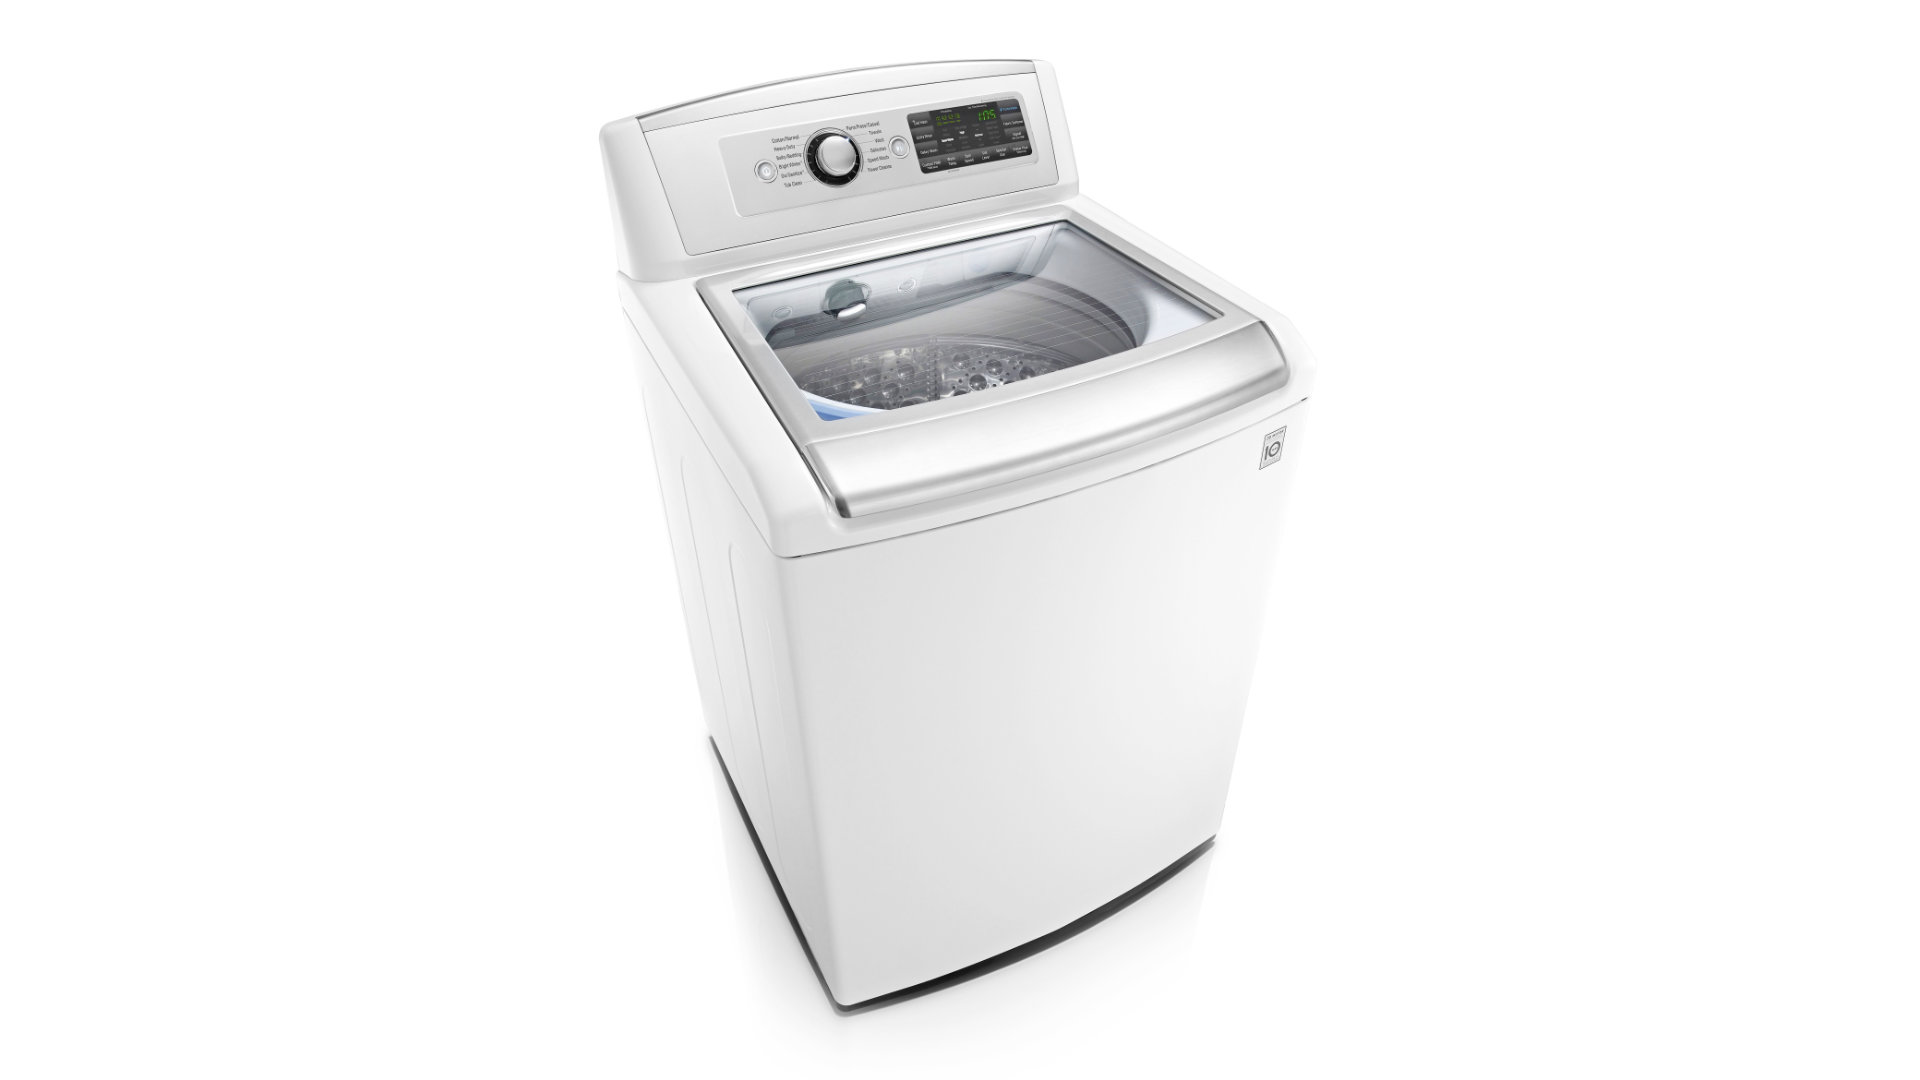
LG has a long history of making home appliances, including washing machines. However, like all washers, LG washers are still prone to wear and tear. The most common issues with LG washers relate to the washer not draining, wires breaking, or excess water caused by a defective water inlet valve. Read on to troubleshoot the top 3 LG washer problems.
This guide applies to the following models:
RLM20K
WD-10271BD
WD-11275BD
WD-13276BDM
WD-90282BD
WM2233HW
WM2277HS
WM2301HR
WM2301HW
WM2455HG
WM2455HW
WM2455HW/00
WM2487HRMA/00
WM2487HWMA/00
WM2496HSM
WM2496HWM/00
WM2688HNM
WM2688HWMA/00
WM3070HWA
WM3470HVA
WM3470HWA
1. Washer Not Draining
A common problem with LG washers is that they will not drain because of a faulty drain pump. The drain pump usually becomes defective after 4-6 years. If the drain pump is failing, you will likely notice that the drain pump is noisier than usual. To determine if the drain pump is defective, it will need to be tested with a multimeter for continuity (a continuous electrical path).
Drain pumps can also become blocked due to foreign objects or small items of clothing that get through the washer’s filters and clog the pump. The drain pump’s impellers may also become damaged and stop the pump from working correctly.
Accessing the drain pump will depend on the type of washer and model number. The drain pump with front-load washers is usually accessed by removing either the rear access panel or by removing the front panel from the washer. The drain pump on top-loader washers is usually accessed by laying the washer on its back to access the drain pump underneath the washer. Check your washer’s manual for drain pump access instructions.
To check the drain pump:
- Disconnect the washer from the power source.
- Disconnect the water supply to the washer.
- Remove the relevant access panel.
- Disconnect the drain pump wire connector.
- Use pliers to release the clamps that secure the drain hose to the pump. Remove the drain hose.
- Use a 5/16-inch socket to remove the drain pump mounting screws.
- Remove the pump from the washer.
- Check the pump for damage or obstructions.
- Test the pump for continuity with a multimeter. If there is no continuity, replace the drain pump.
2. Broken Motor Wire Harness or Position Sensor Wire
Another typical problem with LG washers is that some wires in the motor wire harness break due to the vibrations of the washing machine. The issue will usually cause the washer to make unusual noises during the spin cycle.
Similarly, the wire attached to the position sensor will sometimes break with LG washers. The position sensor communicates the exact position of the motor to the control board.
With both the motor wire harness and position sensor wire, a broken or damaged wire can cause communication issues between the control board and motor, which can cause the washer not to work as it is supposed to.
To check the motor wire harness and position sensor wire, the washer’s motor will need to be accessed. If there are any broken or burnt wires, the wire harness or the individual wire will need to be replaced.
Like the drain pump, access to the motor and position sensor will depend on the type of washer and the model number. With front-loaders, either the rear access panel or the front panel will need to be removed. With top-loader washers, the motor and sensor can be accessed by putting the washer on its back to access the motor and position sensor underneath the washer. Check the washer’s manual for the location of the motor or position sensor for your specific LG washer.
To check the motor wire harness and position sensor:
- Disconnect the power to the washer.
- Disconnect the water to the washer.
- Remove the relevant access panels to locate the motor wire harness.
- Unthread the mounting nut for the rotor assembly and remove the rotor assembly.
- Use a socket to remove the stator mounting bolts.
- Check the motor wire harness and position sensor for burnt or broken wires.
- Replace the wire harness or the individual wires that are damaged.
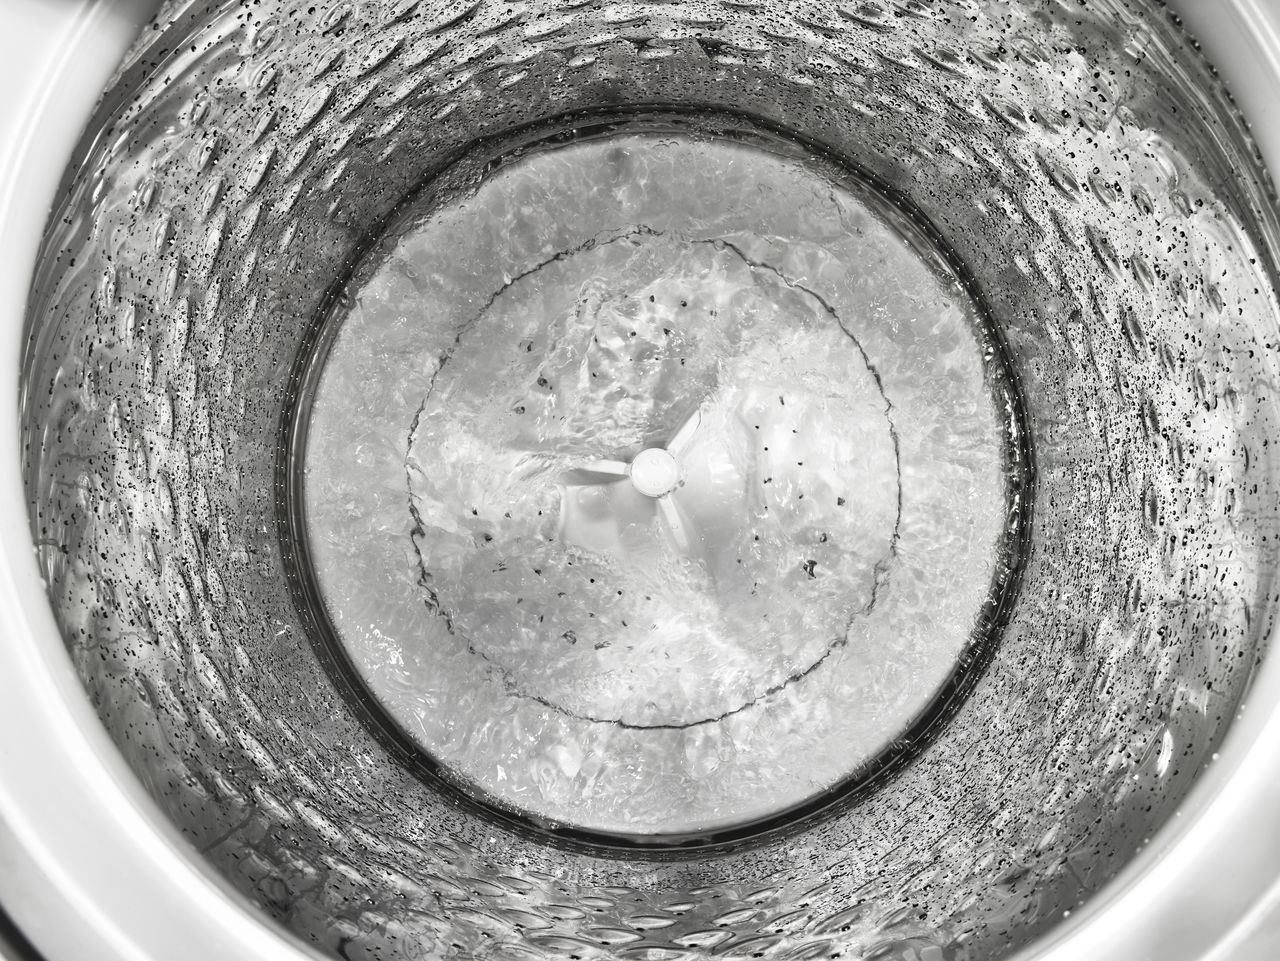
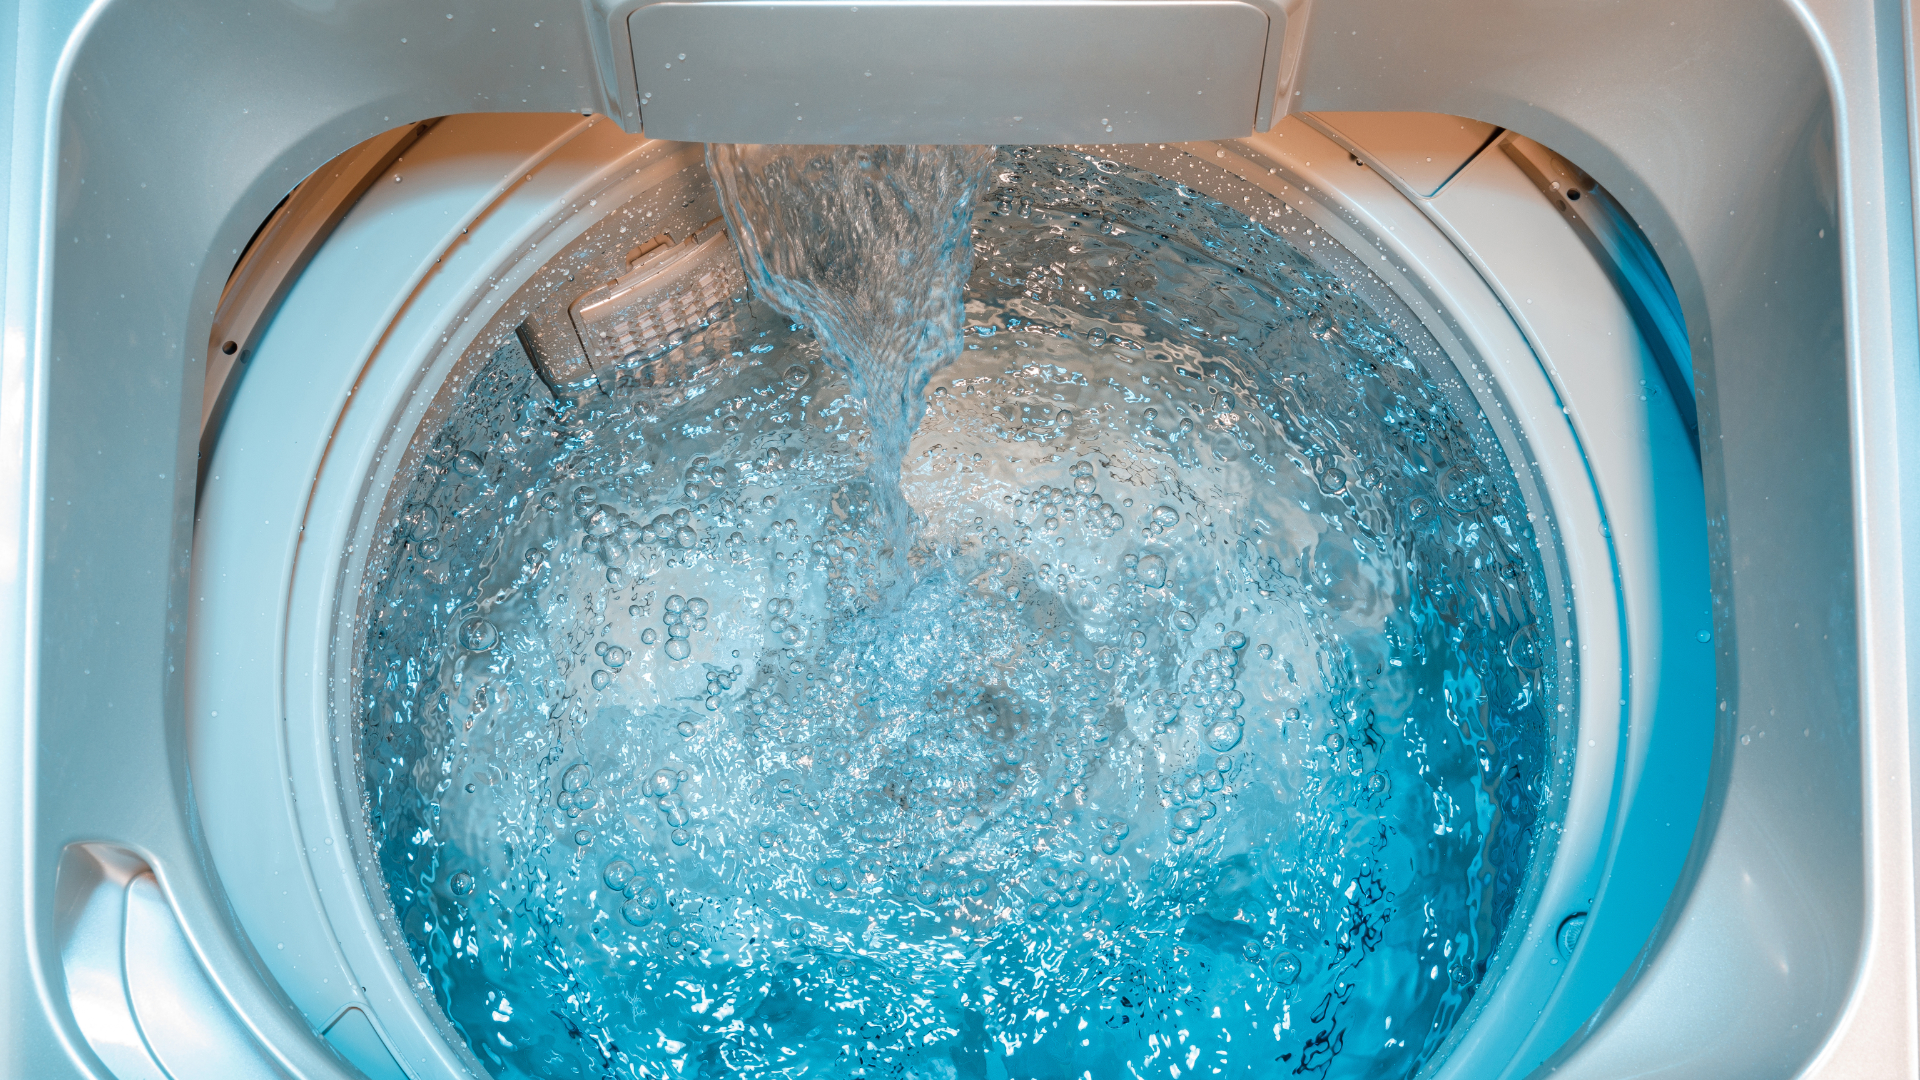
3. Washer Overfilling or Leaking
Another issue common with LG washers is that the water inlet valve becomes defective. The valve can become defective due to a buildup of calcium or through normal wear and tear.
If there is a calcium buildup, the valve becomes stuck, causing water to appear in the tub or excess water to leak from the washer. If you are noticing excess water, particularly if the washer has not been used, there is likely a problem with the water inlet valve.
Similarly, over time the water inlet valve solenoids can fail, which can cause excess water and water leakage. The water inlet valve can be visually checked for damage and tested with a multimeter for continuity. If the water inlet valve is defective, it should be replaced instead of trying to repair it.
Access to the water inlet valve will depend on the washer type and model number. With front-loader washers, the inlet valve can usually be accessed by removing the top of the washer. The top can be lifted off once screws at the back of the washer have been removed. With top-loader washers, the control panel will need to be removed and the washer cabinet lifted off.
To check the water inlet valve:
- Disconnect the power to the washer.
- Turn off the water to the washer.
- Disconnect the water hoses to the washer.
- Remove the relevant access panel.
- Take a photo of how the water inlet valve is connected to assist with the reassembly of the washer.
- Remove the solenoid wires attached to the old inlet valve.
- Use pliers to release the clamps and remove the four hoses connected to the water inlet valve.
- Remove the mounting screws that hold the water inlet valve in place, and remove it from the washer.
- Check the water inlet valve for damage and debris blocking the screens inside the water inlet valve.
- Test the water inlet valve for continuity with a multimeter. A healthy water inlet valve should show between 500 and 1,500 ohms of resistance.
- Replace a defective water inlet valve. Note that most washer repair technicians recommend replacing the water inlet valve instead of trying to repair it.