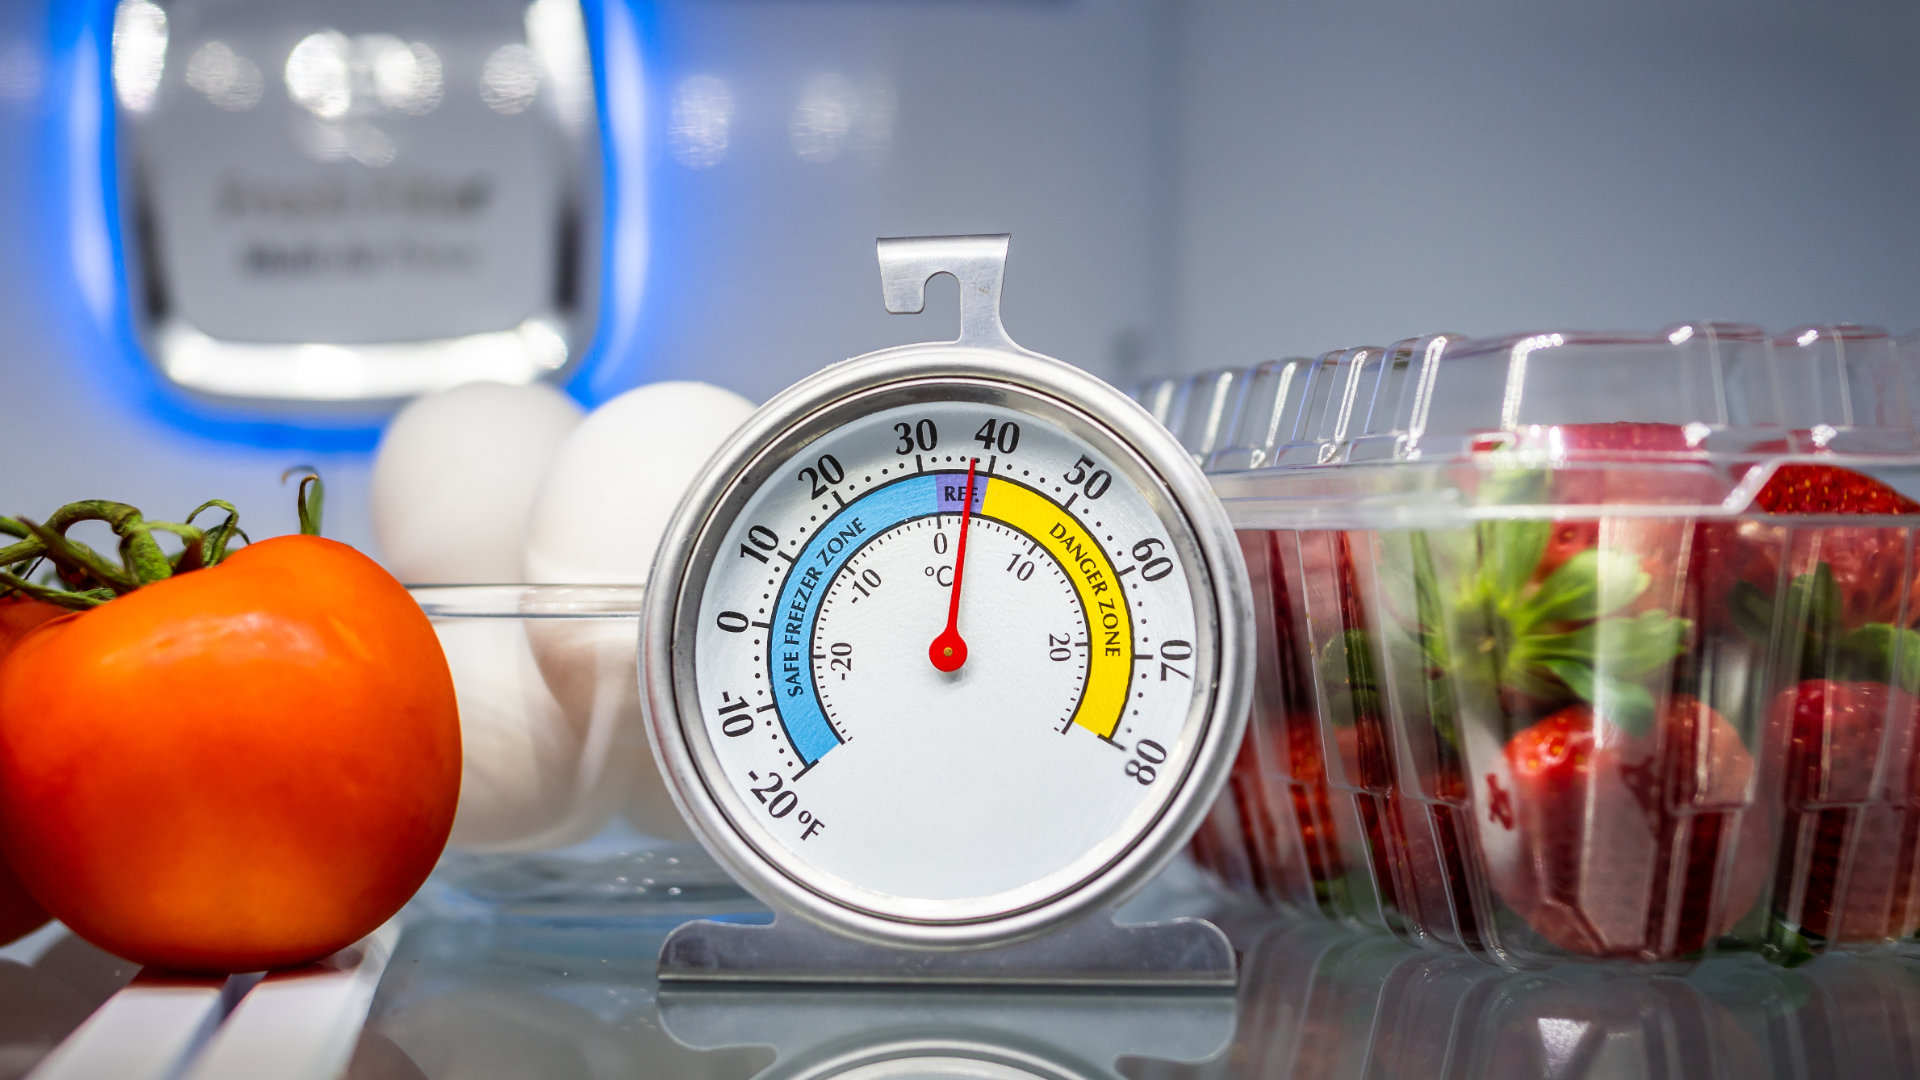
Ice makers are a fantastic addition to modern life, but they don’t last forever. Even if your ice maker is in good working order, maintenance also includes keeping your ice maker clean and sanitized. You may notice something wrong with your ice, like a weird smell or cloudy ice cubes. When this happens (or once a year) it’s a good idea to fully wash and sanitize the automatic ice maker in your fridge’s freezer compartment.
Today, we’re here to show you how.
Check Your Fridge Manual
It’s best to do any refrigerator maintenance with the manual open. It’s okay if you’ve long-since lost the paper manual. The online manual for your brand and model of refrigerator is usually easy to find on the manufacturer’s website. Flip to the section about the ice maker and keep it open for reference.
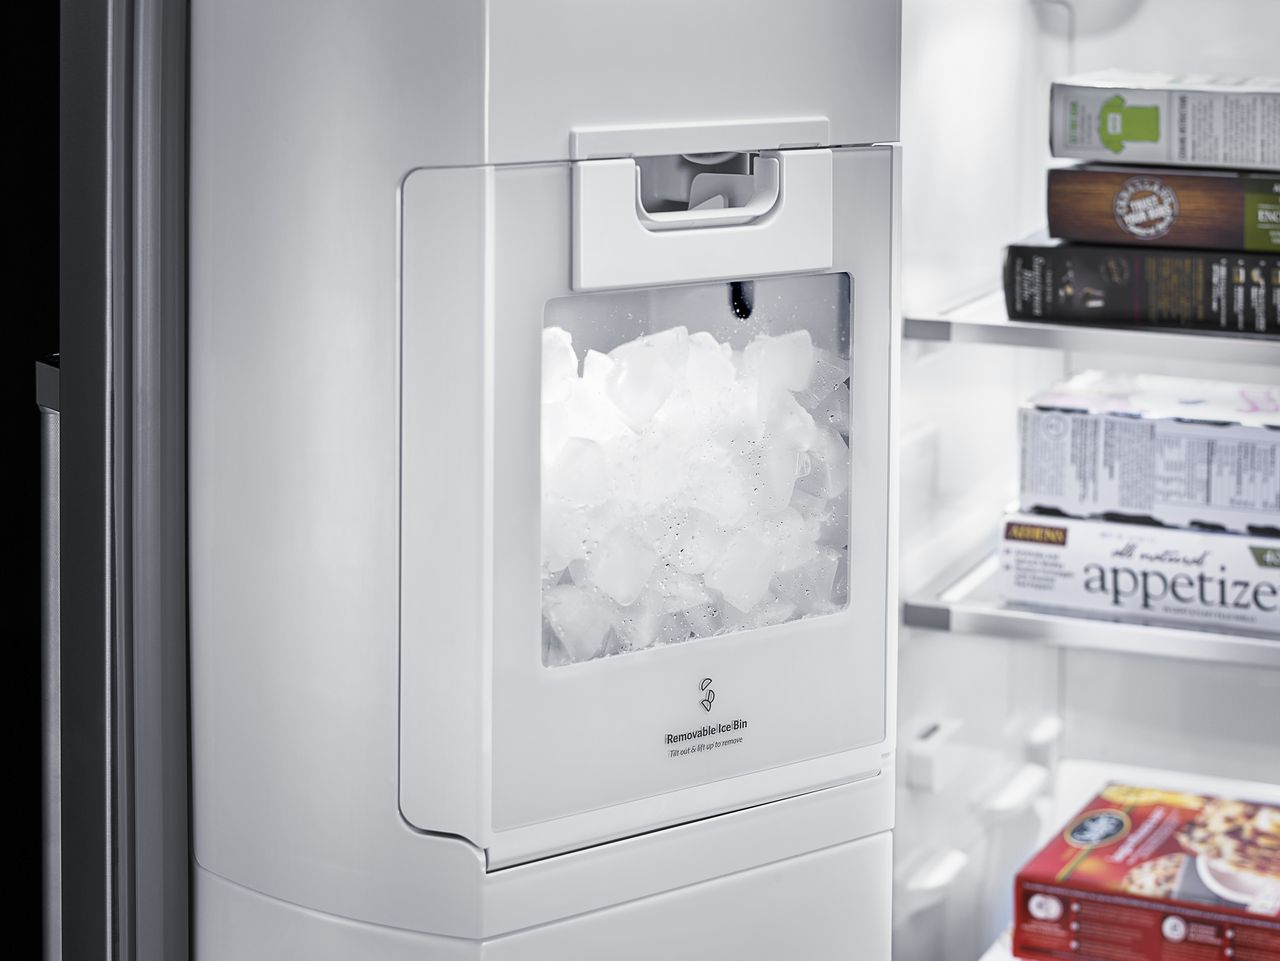
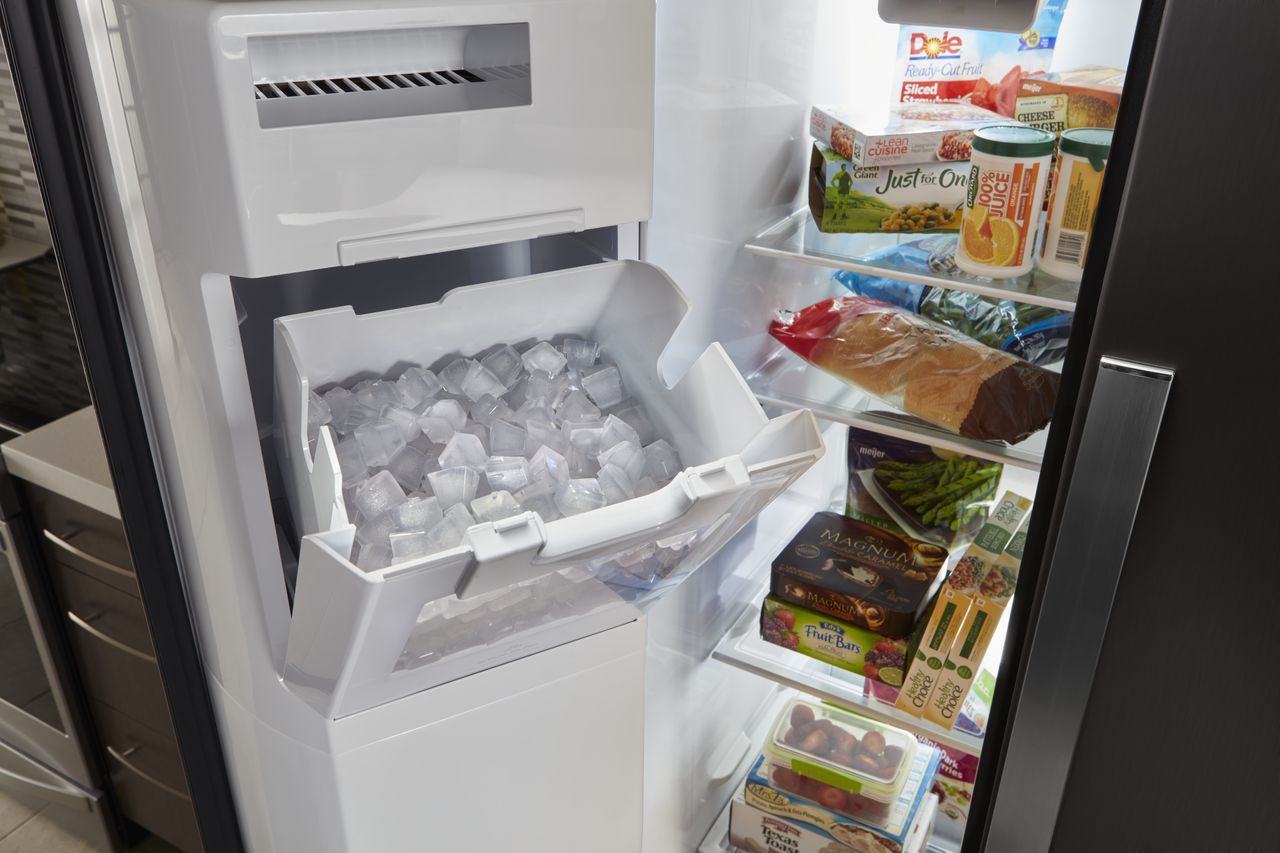
Turn Off and Remove Your Ice Maker Bin
Start by turning off your ice maker and removing the ice bin. Some ice makers have a metal bar that will need to be lifted. Some will have an on-off switch that will need to be flipped. When you’re sure the ice maker is off, pull out the ice bin. This may be done by pulling up and out or sliding your bin straight out depending on the model. Now you have an unpowered ice maker and a bin full of not-so-great ice.
Dump Out Loose Ice and Break Built-Up Ice
Dump out any loose ice in the ice maker bin, it’s no great loss and you’ll enjoy ice from a clean ice maker much more. Then use a butter knife or a sturdy plastic spatula to break up any ice that has built up in frost or large chunks along the sides of the ice bin.
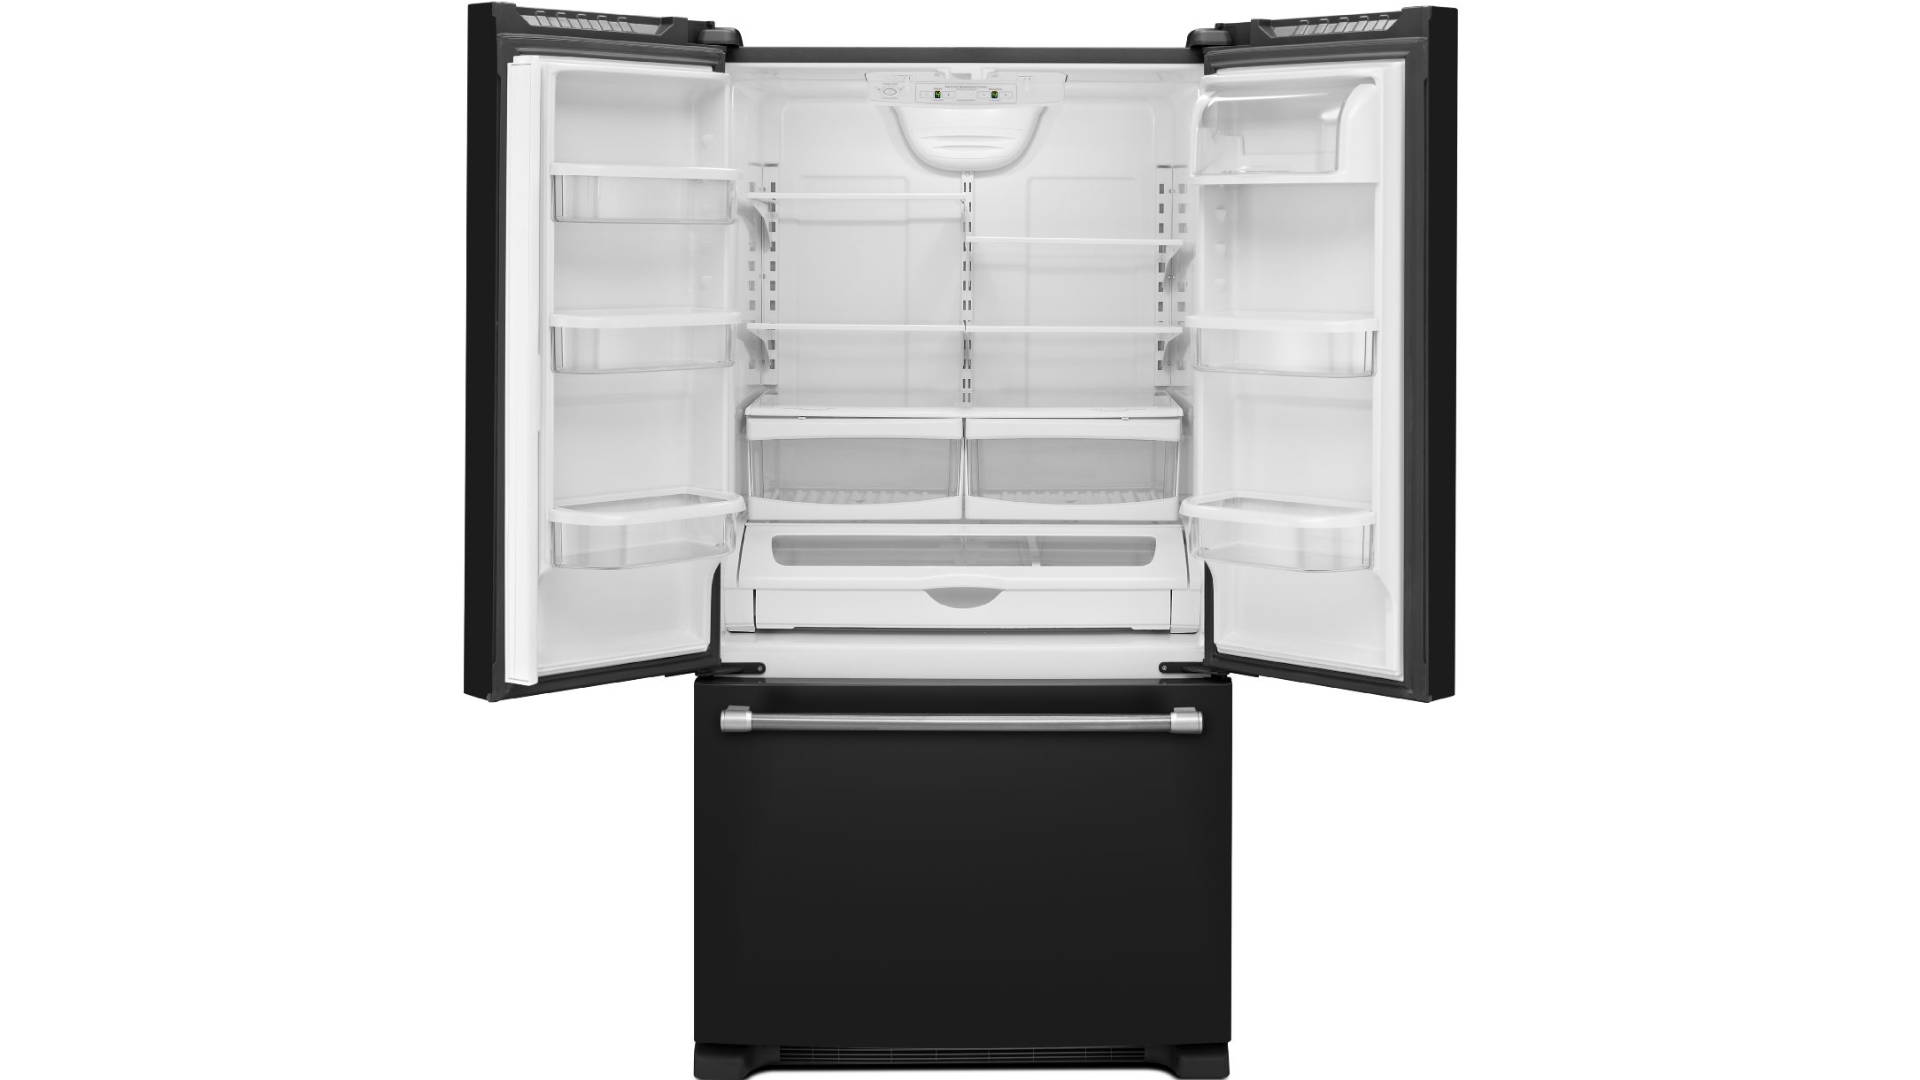
Wipe Down and Dry the In-Freezer Components
For the freezer components, dip a clean rag or sponge in soapy water and wipe down everything you can reach. Be sure not to accidentally flip the ice maker back on in the process. Then wipe down the in-freezer components with vinegar or a light bleach solution. This double-whammy cleaning approach will first wash away any solid or microscopic contaminants that could be interfering with your ice.
Then very carefully dry the in-freezer components so there’s no risk of them frosting over while you take care of the ice bin.
Wash the Ice Maker Bin Like a Dish
Check your manual again. If your ice maker bin is dishwasher safe, you’re in luck. You can pop that bin upside-down in the upper compartment of your dishwasher and let the appliance do the rest. Or, if the bin is not dishwasher safe, it will only take a few minutes to scrub it down with a soapy sponge and rinse.
Then sanitize the ice maker bin with the same bleach or (if you’re not confident about bleach) a vinegar solution. Rinse thoroughly before declaring this part finished.
Dry Everything Thoroughly
Now that your ice maker components and ice bin are completely clean, make sure everything is also completely dry. Take a dry cloth or towel to every reachable surface of the ice bin and then double-check that the in-freezer components are also fully dry. This is vital to prevent frost buildup on the icemaker.
Replace the Ice Maker Bin
Now slide that clean, dry ice bin back into place by reversing the motion you used before. If this feels clumsy or incorrect, refer to your user’s manual for ice bin installation tips. Lock the bin into place and shake it a little to be sure that you’ve got it properly set.
Turn the Ice Maker Back On
Finally, it’s safe to drop the bar or flip the switch to turn your ice maker back on. If everything has gone according to play, you should be enjoying clean, tasty (or tasteless) ice as soon as the ice maker gets a chance to make some.
—For more insights into appliance maintenance and repairs, contact us today!