A washing machine that will not stop filling can be a huge headache. Not only is there the potential flooding damage but also the inconvenience caused as the laundry begins to pile up. Fortunately, the most common causes of the issue are relatively easy to diagnose, and the parts responsible are easily replaced. If the cause is a blocked pressure hose, just blowing through it can fix the issue. Read on to fix your overfilling washer.
Before Repairing the Washer
If the washer is full of water, run a spin cycle to empty the tub before repairing the washer. You should also disconnect the washer from the power source and turn off the hot and cold water supply lines. It is also a good idea to prepare a towel to wipe up any water that may spill.
1. Water Inlet Valve
The water inlet valve controls the flow of hot and cold water into the washer. The water inlet valve has solenoids, which open and close to allow the water to flow into the washer. A washer that will not stop filling is often caused by the valve sticking and staying open.
There is a simple test to determine if the water inlet valve is at fault.
- Turn the washer on and let it begin to fill up.
- As it is filling, disconnect the power to the washer.
- If the washer does not stop filling, then the water inlet valve has failed to close, meaning it is defective and will need to be replaced.
The water inlet valve can also be examined for any obvious damage and checked for debris that may be blocking the screens inside the water inlet valve. If you see any debris, removing it may solve the issue. The water inlet valve can also be tested with a multimeter on Rx1. However, you will have to check your owner’s manual for the correct reading for your washer, as this can vary from washer to washer.
2. Water Level Switch
The washer’s water level switch is a pressure-activated switch that determines when the tub needs to stop filling with water. The switch has two sets of contacts. One contact sends power to the water inlet valve, which causes the tub to fill. Once the tub has filled, the other contact sends power to the motor, and the wash cycle begins. If the washer does not stop filling, it could be because the contacts have fused together.
The switch can be tested with a multimeter to determine if it is still able to carry an electric current or if it needs to be replaced.
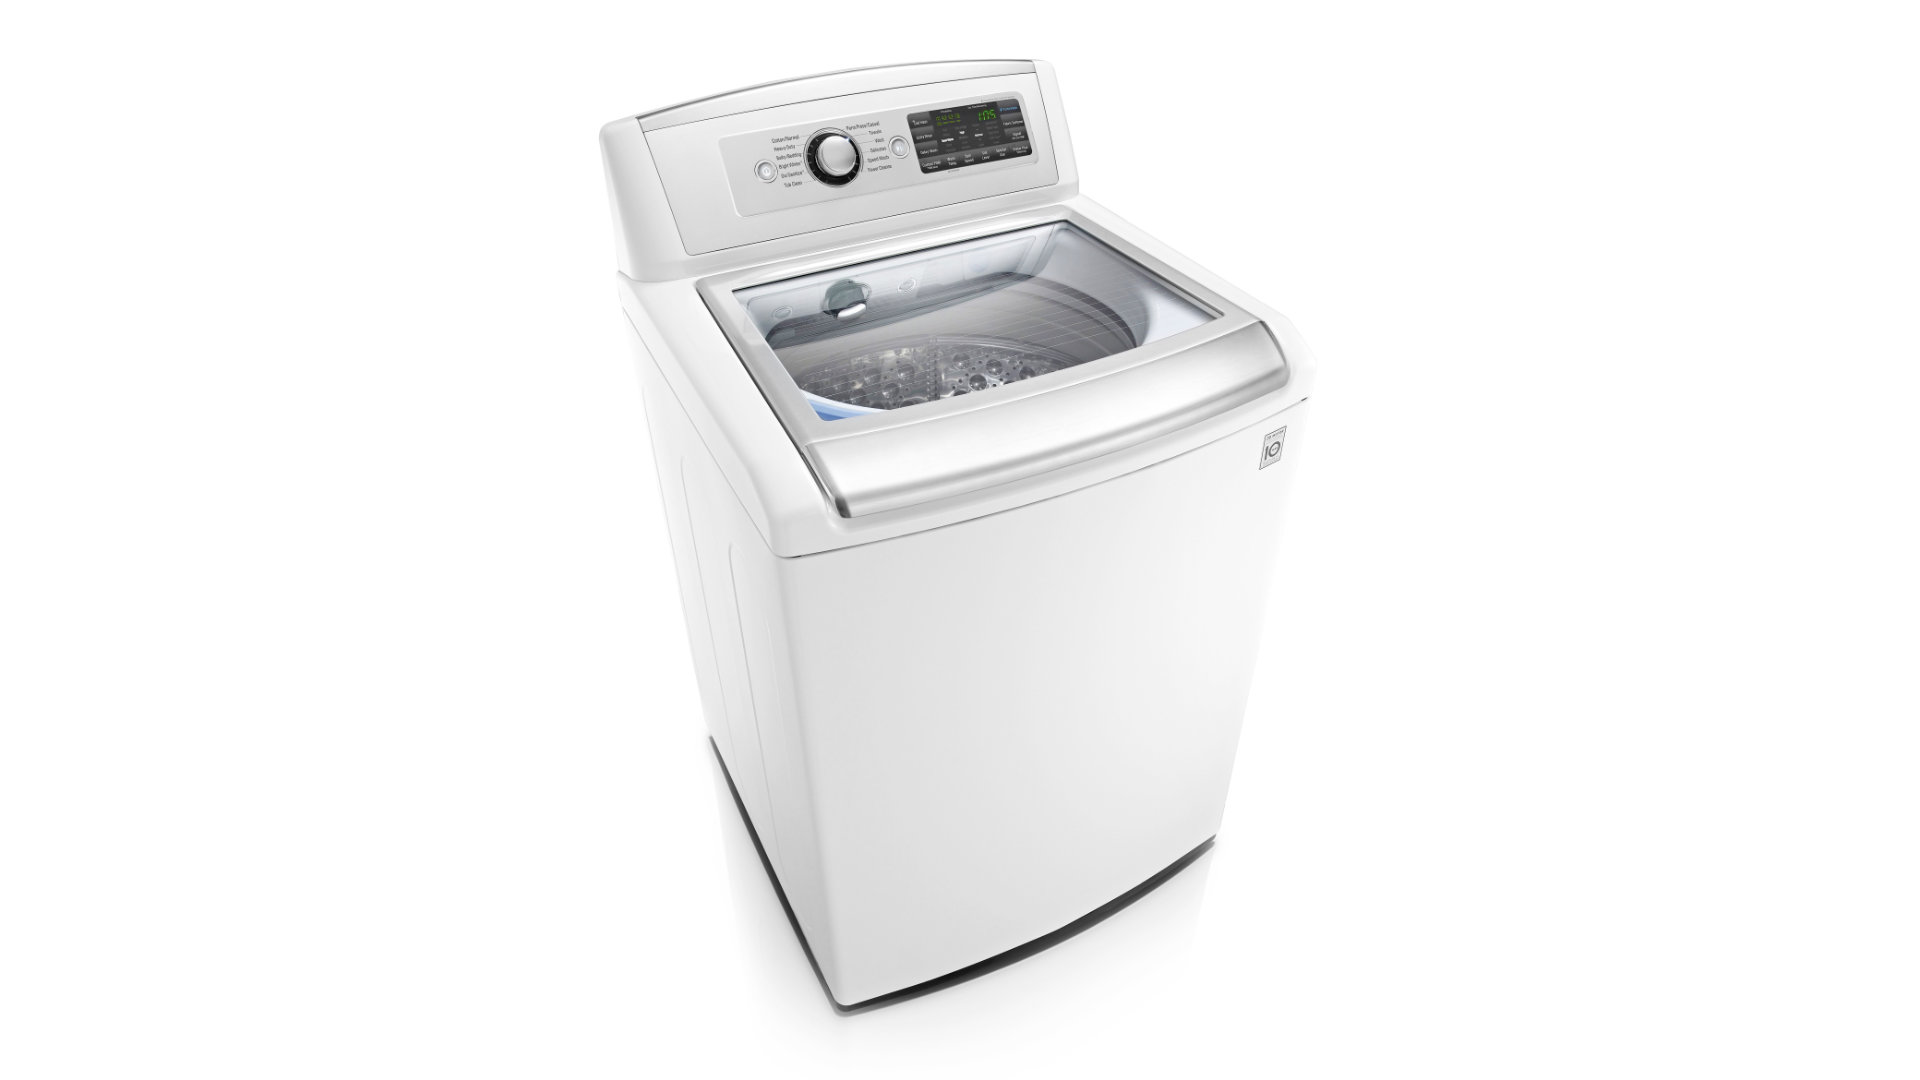
On top-loader washers, the switch is usually located behind the water level control knob inside the control panel. On front-loader washers, the switch is usually located just under the top panel, mounted to the washer cabinet. Some top-loader washers do not have a water level switch, so check your washer’s manual to find out if your washer has one.
- If you have a top-loader, first remove the water level control knob.
- Access the water level switch by either removing the top panel on a front-loader washer or by unscrewing the control panel screws at the back of the control panel and then lifting it up.
- Remove the pressure hose from the switch.
- Remove the wiring harness and take the switch off the washer.
- Attach one multimeter probe to the power terminal and the other to the water inlet valve terminal on the water level switch.
- Check that the switch has continuity, which it should.
- Gently blow into the hose fitting on the switch, which should cause it to lose continuity. If it does not lose continuity, the contacts have fused together, and it will need to be replaced.
3. Water Level Switch Pressure Hose
Another common cause of an overfilling washer is the pressure hose attached to the water level switch. The hose connects the pressure switch to the outer tub, usually going into an air dome on the outer tub. As the tub fills, more air pressure is created, which eventually causes the power to the water inlet valve to shut off once the tub has filled.
The reason your washer will not stop filling could be because the hose has either clogged, fallen off, or gotten a hole in it. If there is a hole in the hose, it will reduce the pressure and cause the water level switch not to shut off power to the water inlet valve.
- Check that the hose has not fallen off and is still connected.
- Disconnect the hose to check if it is clogged.
- Blow through the hose. If you have trouble blowing through the hose, it is likely blocked, and you should be able to keep blowing through it to clear it out.
- Check the air dome to make sure it is not clogged, and clear it out if it is.
- Check the hose for holes. If you find a hole, it is best to replace the hose.
- Reattach the hose, making sure it is not kinked.
4. Water Pressure
One of the less common reasons your washer may be overfilling is that there is not enough water pressure for the water inlet valve to work correctly. If there is not enough water pressure, the water inlet valve will not close completely, which can cause the washer to overfill.
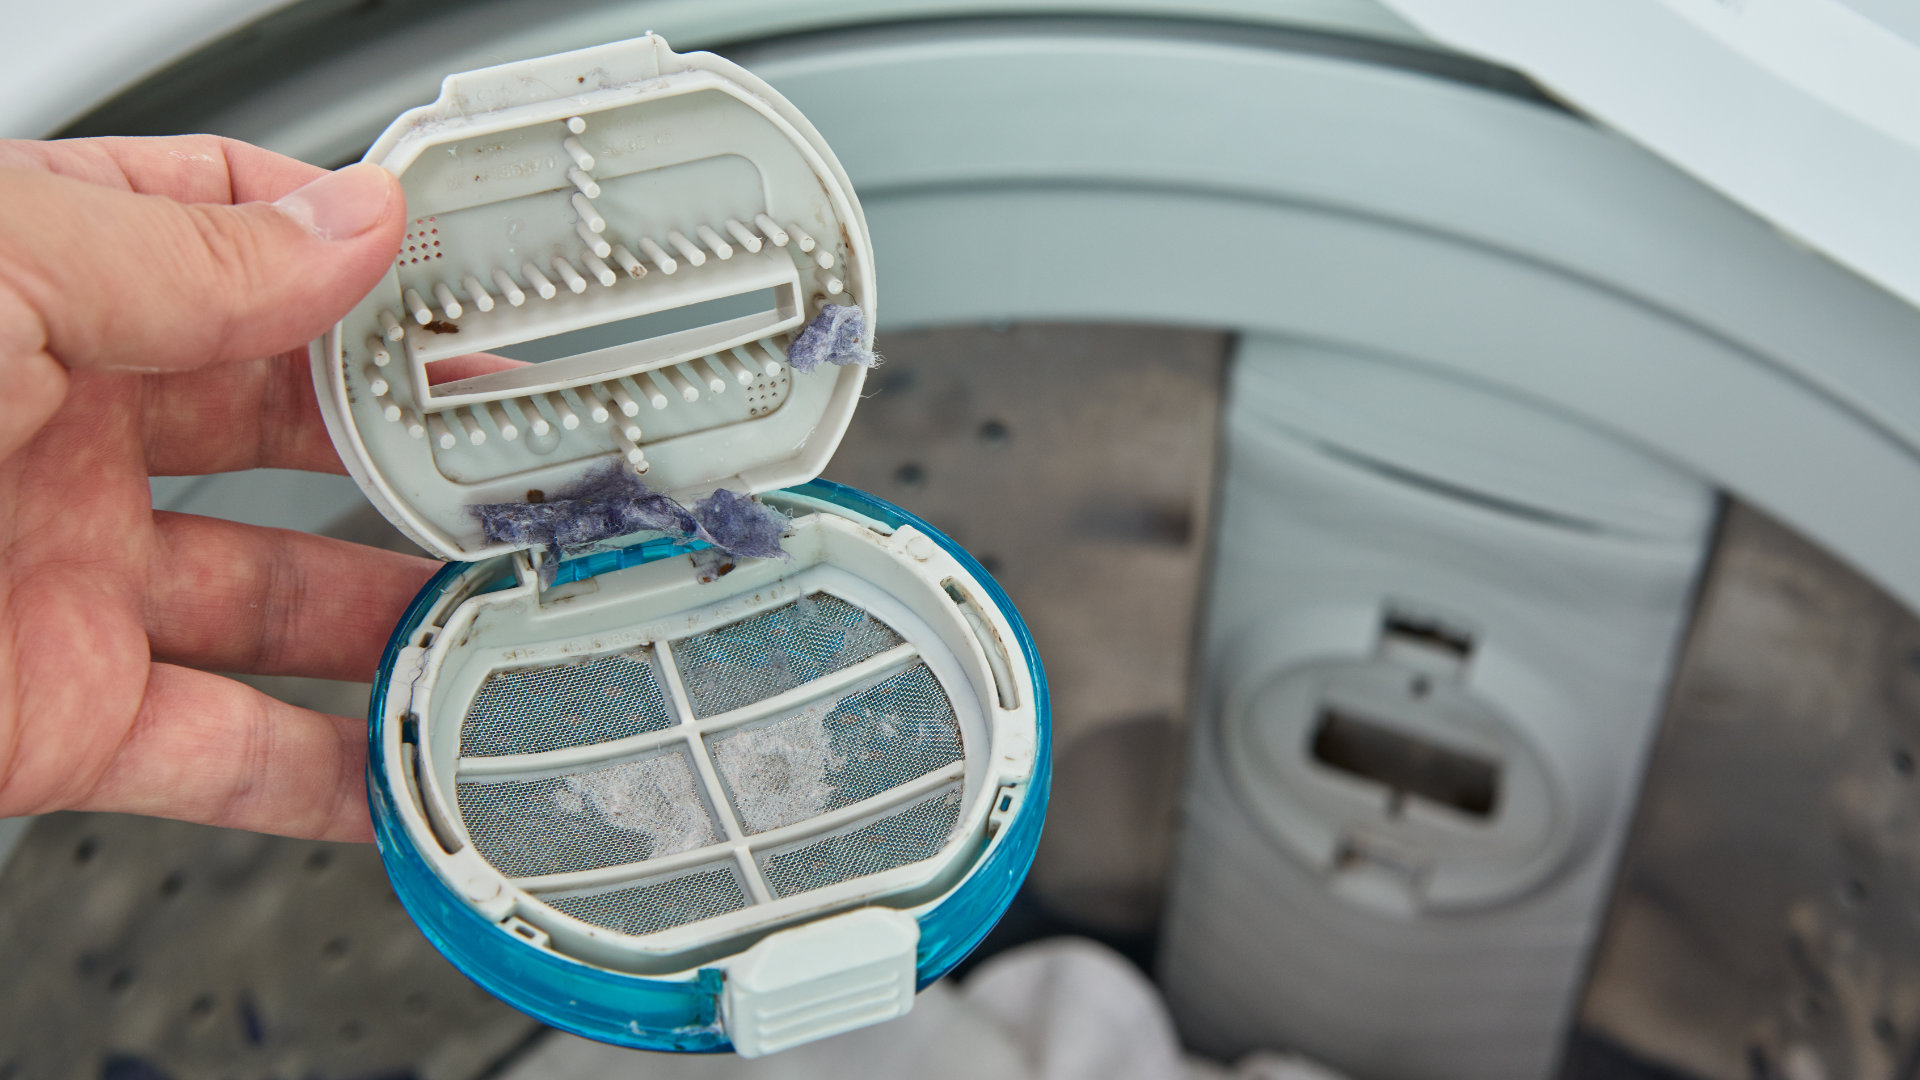
The amount of water pressure your washer requires will depend on the model of the washer that you have. Therefore, you should check your washer’s manual for the correct water pressure. If you do not have a way to check and adjust the water pressure, you will need to call a plumber. However, you can check if the filters on the water inlet valve are blocked, which may be reducing the water pressure.
5. Main Control Board
Lastly, if you have checked the above causes, but it is still overflowing, there could be a fault with the main control board. The control board times and initiates the cycles and monitors the functions of the washer. If the control board is faulty, it may not be communicating with the water inlet valve or the water level switch, which would cause the washer to overfill. The control board can be checked for signs of damage, like burn marks or disconnected wires. To properly check the control board, you should call a trained professional.