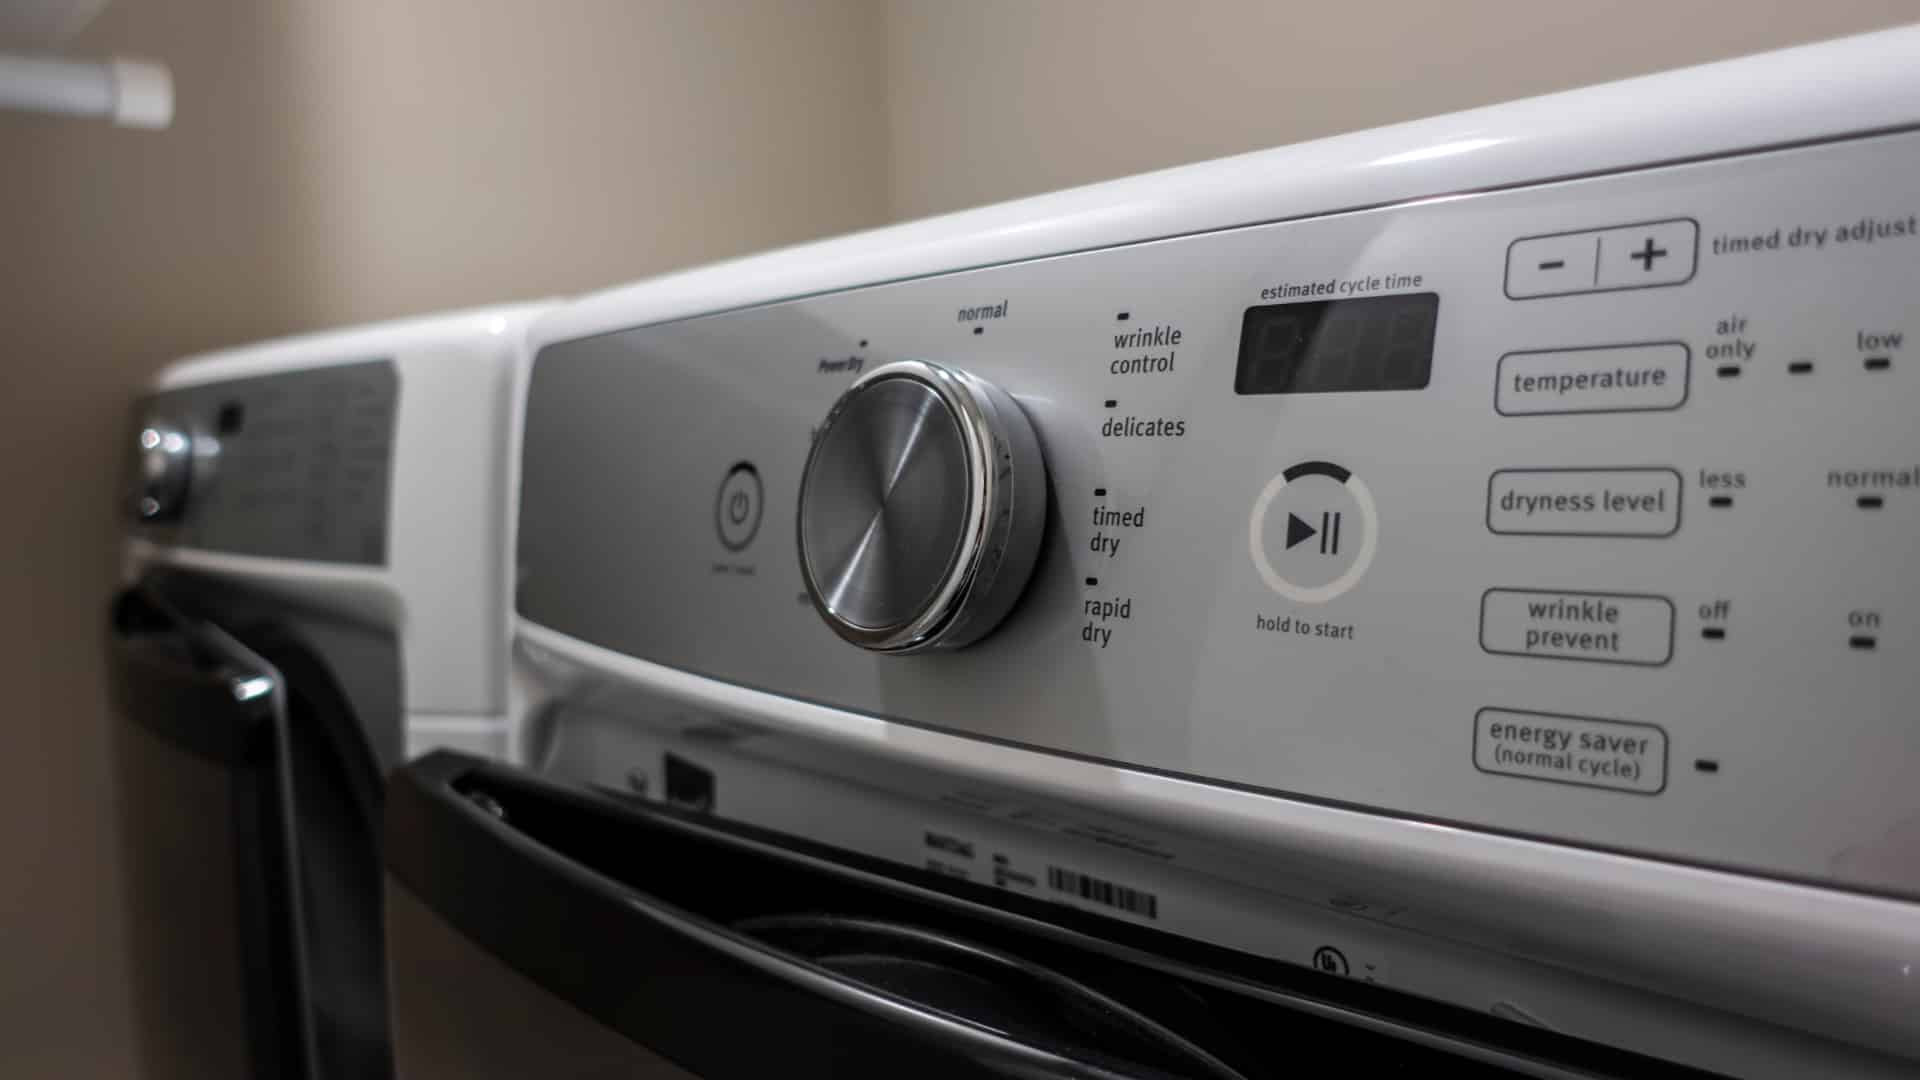
If your Samsung dryer has stopped heating or is not heating properly, a faulty heating element is the most likely cause. When this happens, it will need to be replaced. But don’t stress, replacing the heating element in your Samsung dryer is easy to do and doesn’t take too long.
Simply follow the steps in this guide to remove the old element and install the new one and you’ll have your dryer back operating in no time. All you’ll need is a screwdriver and a replacement element and you should be fine. Just make sure you order the correct replacement part from your hardware store or online retailer.
This guide covers all major Samsung dryer models, including:
DV203AEWXAA
DV203AGSXAA
DV203AGWXAA
DV206AESXAA
DV206AGSXAA
DV209AEWXAA
DV210AEW/XAA
DV210AEWXAA
DV210AGWXAA
DV218AEBXAA
DV220AEW/XAA
DV330AEW/XAA
DV350AEWXAA
DV419AEWXAA
DV42H5000EW/A3-0000
DV42H5200EP/A3-0000
DV42H5200EW/A3-0000
DV448AEP/XAA
DV448AEPXAA
DV45H7000EW/A2-0000
DV48H7400EW/A2-0000
Step 1 – Disconnect your dryer
Start by pulling your dryer out from the wall or, if it is attached to the wall, take it down so you can gain access to the heating element. If your dryer has an exhaust hose attached to it, disconnect it. Next, switch the power off by unplugging your dryer.
Step 2 – Remove the back cover
Once the dyer has been disconnected from the vent and power supply the next step is to remove the back cover. This is because the heating element is behind it. To remove the cover, unthread the screws that hold it in place and the panel should clip off. Once removed, put it out of the way and keep the screws in a safe place.
Step 3 – Remove the control panel
The next step is to remove the control panel from your dryer. This can be done by unthreading the screws that hold it in place and then it should clip off. Be careful not to pull it off completely as you’ll need to disconnect the wire harnesses that connect the panel to the dryer before it can be removed. Once disconnected, place the control panel out of the way and put the screws in a safe place.
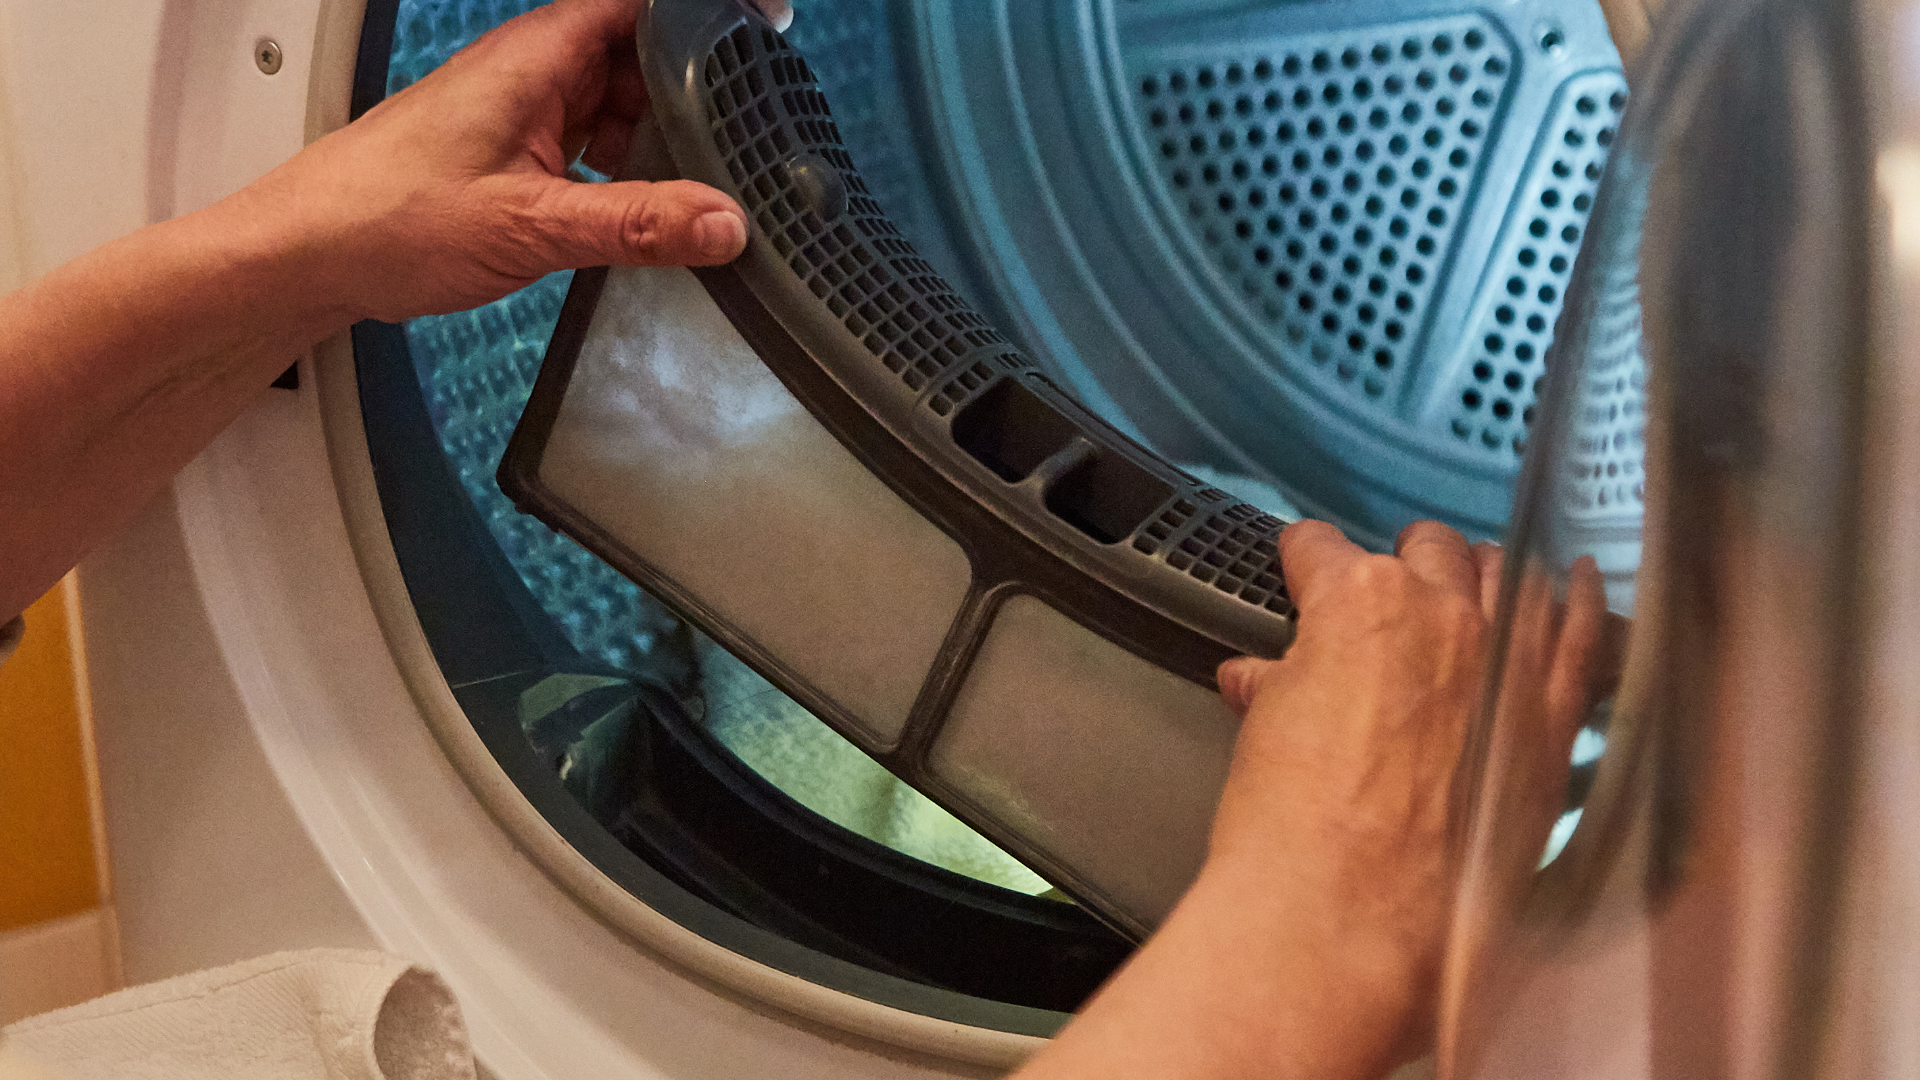
Step 4 – Remove the front cover
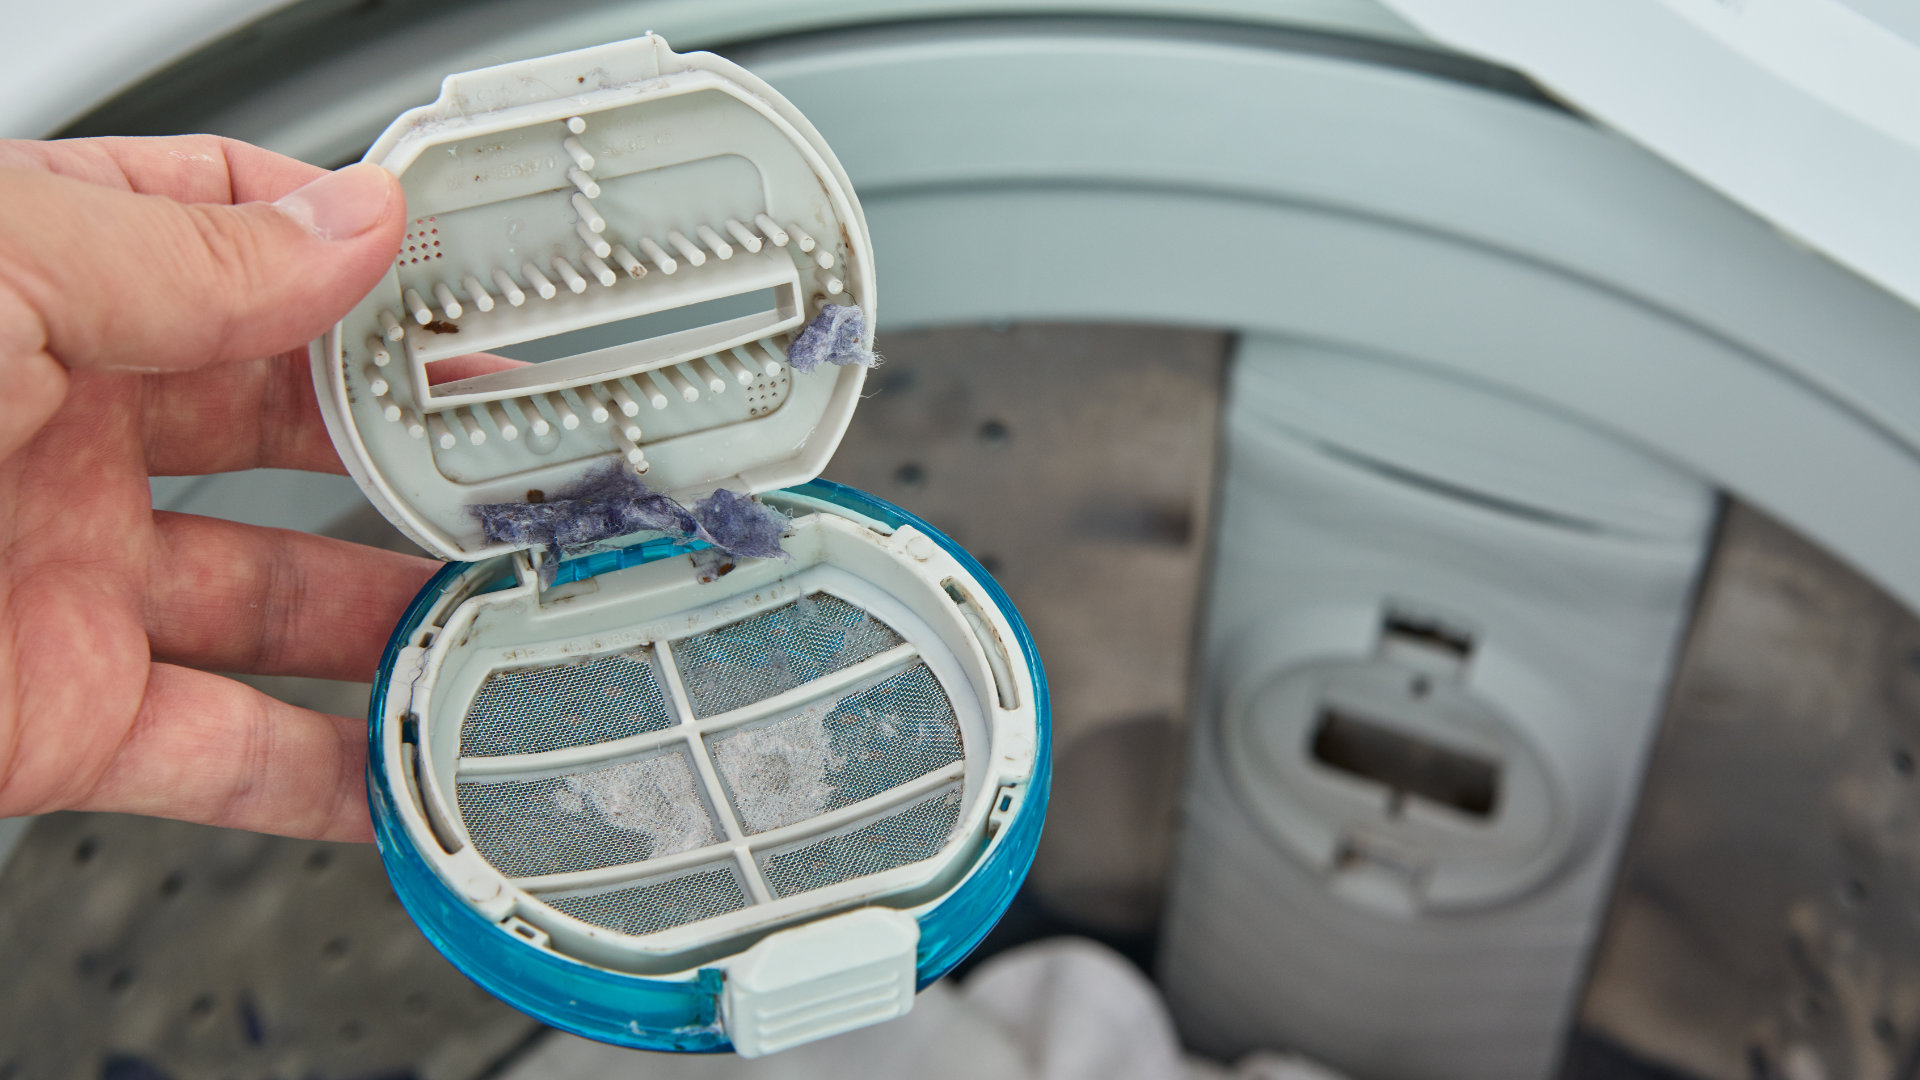
To remove the front cover, open the dryer door and take out the lint filter/trap. Underneath the filter/ trap are a couple of screws that need to be removed. Place the filter to one side and keep the two screws in a safe place. The front panel should now be able to be removed and you’ll have access to the heating element.
Step 5 – Disconnect the power terminals
Locate the heating element and disconnect the power terminals from it. There should be six terminals in total. You don’t need to worry about remembering where each one attaches to the heating element as they are all slightly different shapes.
Step 6 – Remove the element
Once the heating terminals have been disconnected your next task is to remove the heating element. This can be done by unthreading the screw that holds it in place and then taking out the element. Make sure you keep the screw in a safe place as you can use it for the new one. Once the element has been removed, disconnect the thermostat from the element by unthreading the four screws that hold it in place.
Step 7 – Connect the thermostat to the new element
The first task for installing the new heating element into your Samsung dryer is to attach the thermostat to the new element using the four screws you removed earlier. If you have a multimeter, you should test the thermostat to ensure it has continuity. Don’t worry if you don’t have a multimeter, but if the thermostat is defective you’ll need to replace it.
Step 8 – Install the new heating element
Take the new heating element out of the packaging and place it into position in your Samsung dryer. You can then secure it in place with the screw you removed earlier or, if your new heating element has a screw, use the new one instead. Once secured in place, reconnect the wire connectors back up to the element.
Step 9 – Put the front cover back on
Now that the heating element has been successfully installed, you’ll need to put your dryer back together again. Start by placing the front plate onto the dryer and secure it in place with the screws you removed earlier. You can then put the lint filter/ trap back into your dryer.
Step 10 – Reattach the control panel
Once the front plate is secure, reconnect the control panel wire harnesses and place the control panel in position. Secure it in position with the screws you removed earlier. Make sure the panel clips onto the dryer first.
Step 11 – Reattach the top cover
The last cover can now be placed back onto the top of the dryer and secured in place with the screws you removed earlier.
Step 12 – Reconnect the vent and power
The final step is to reconnect the exhaust hose to your dryer and switch the power on. You can now put your dryer back into its regular position and turn it back on to test that the new heating element works. If the new heating element is working you can start to use your Samsung dryer again!