If your dryer is not shutting off, then it’s more than likely one or more components are faulty and need to be repaired.
Thankfully, most components are quite easy to check and then repair if necessary. Simply follow our step-by-step guide below to find the cause and then fix it.
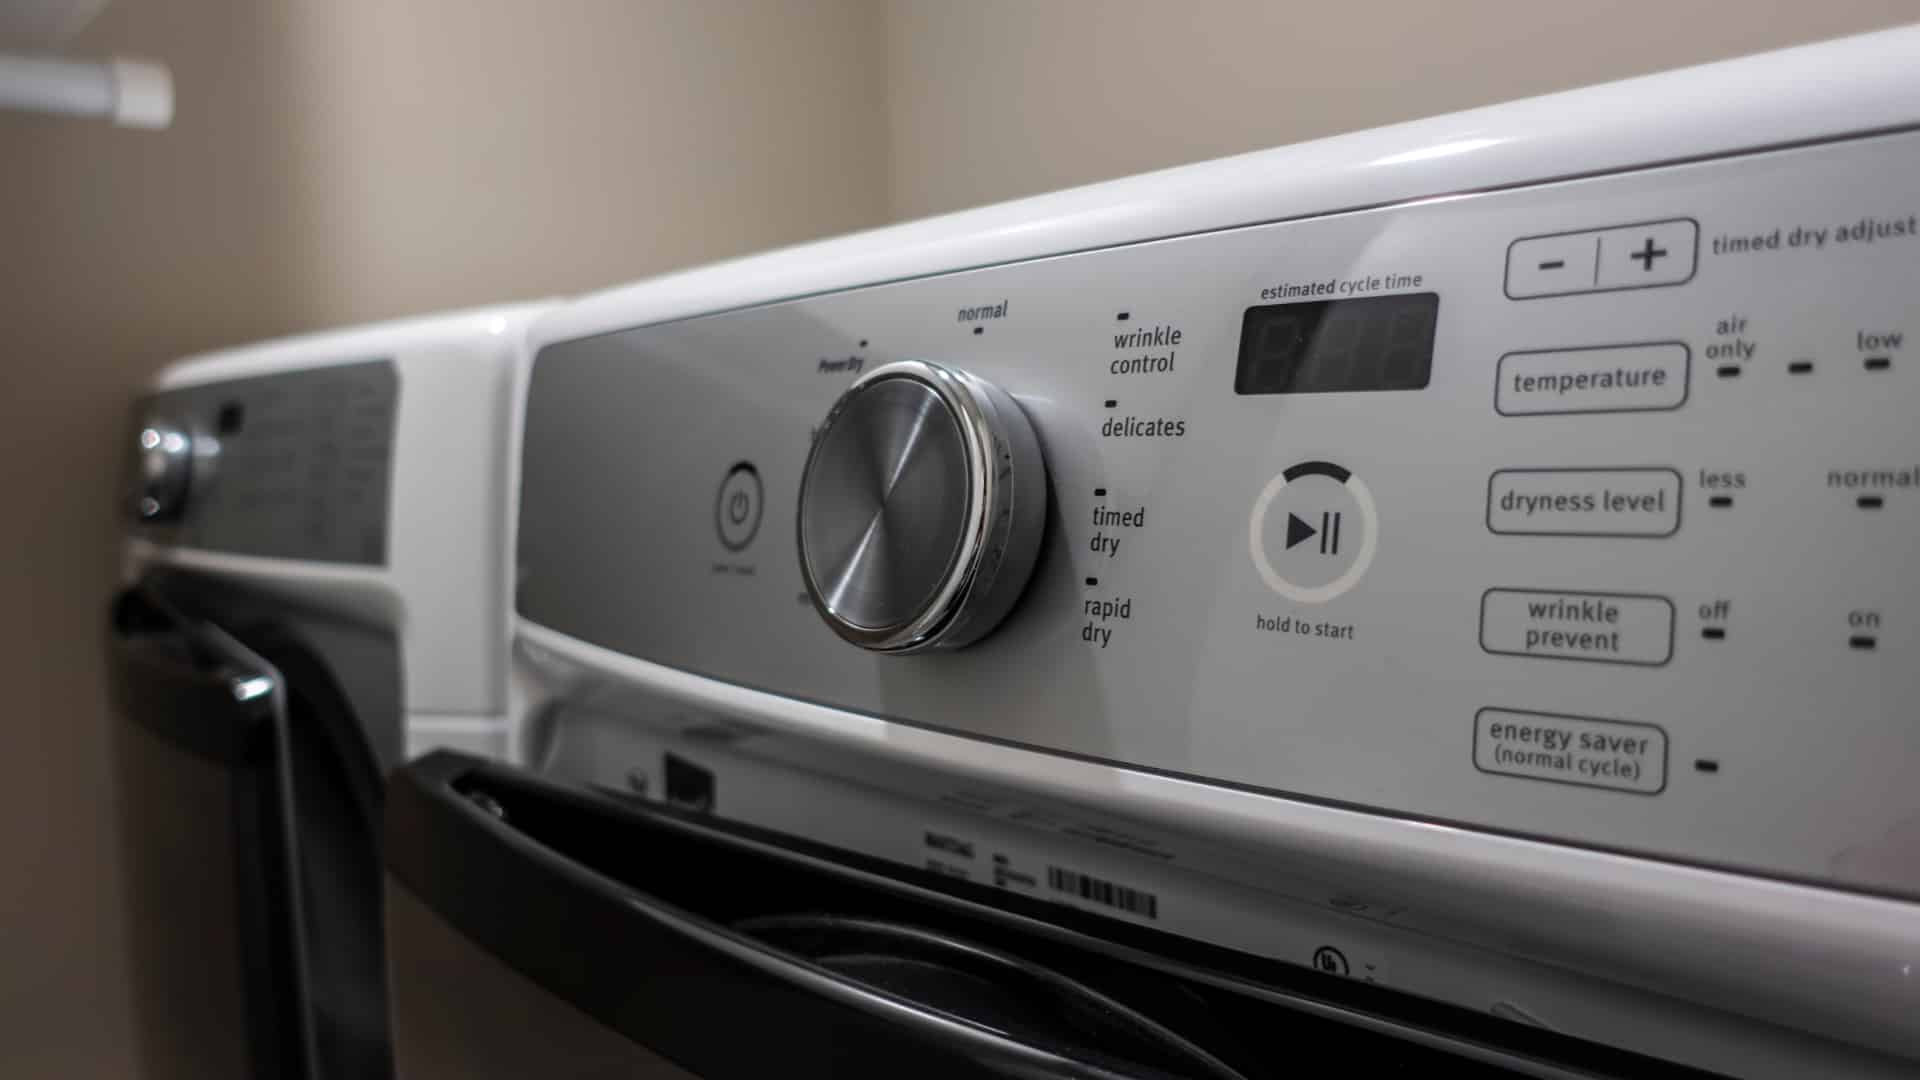
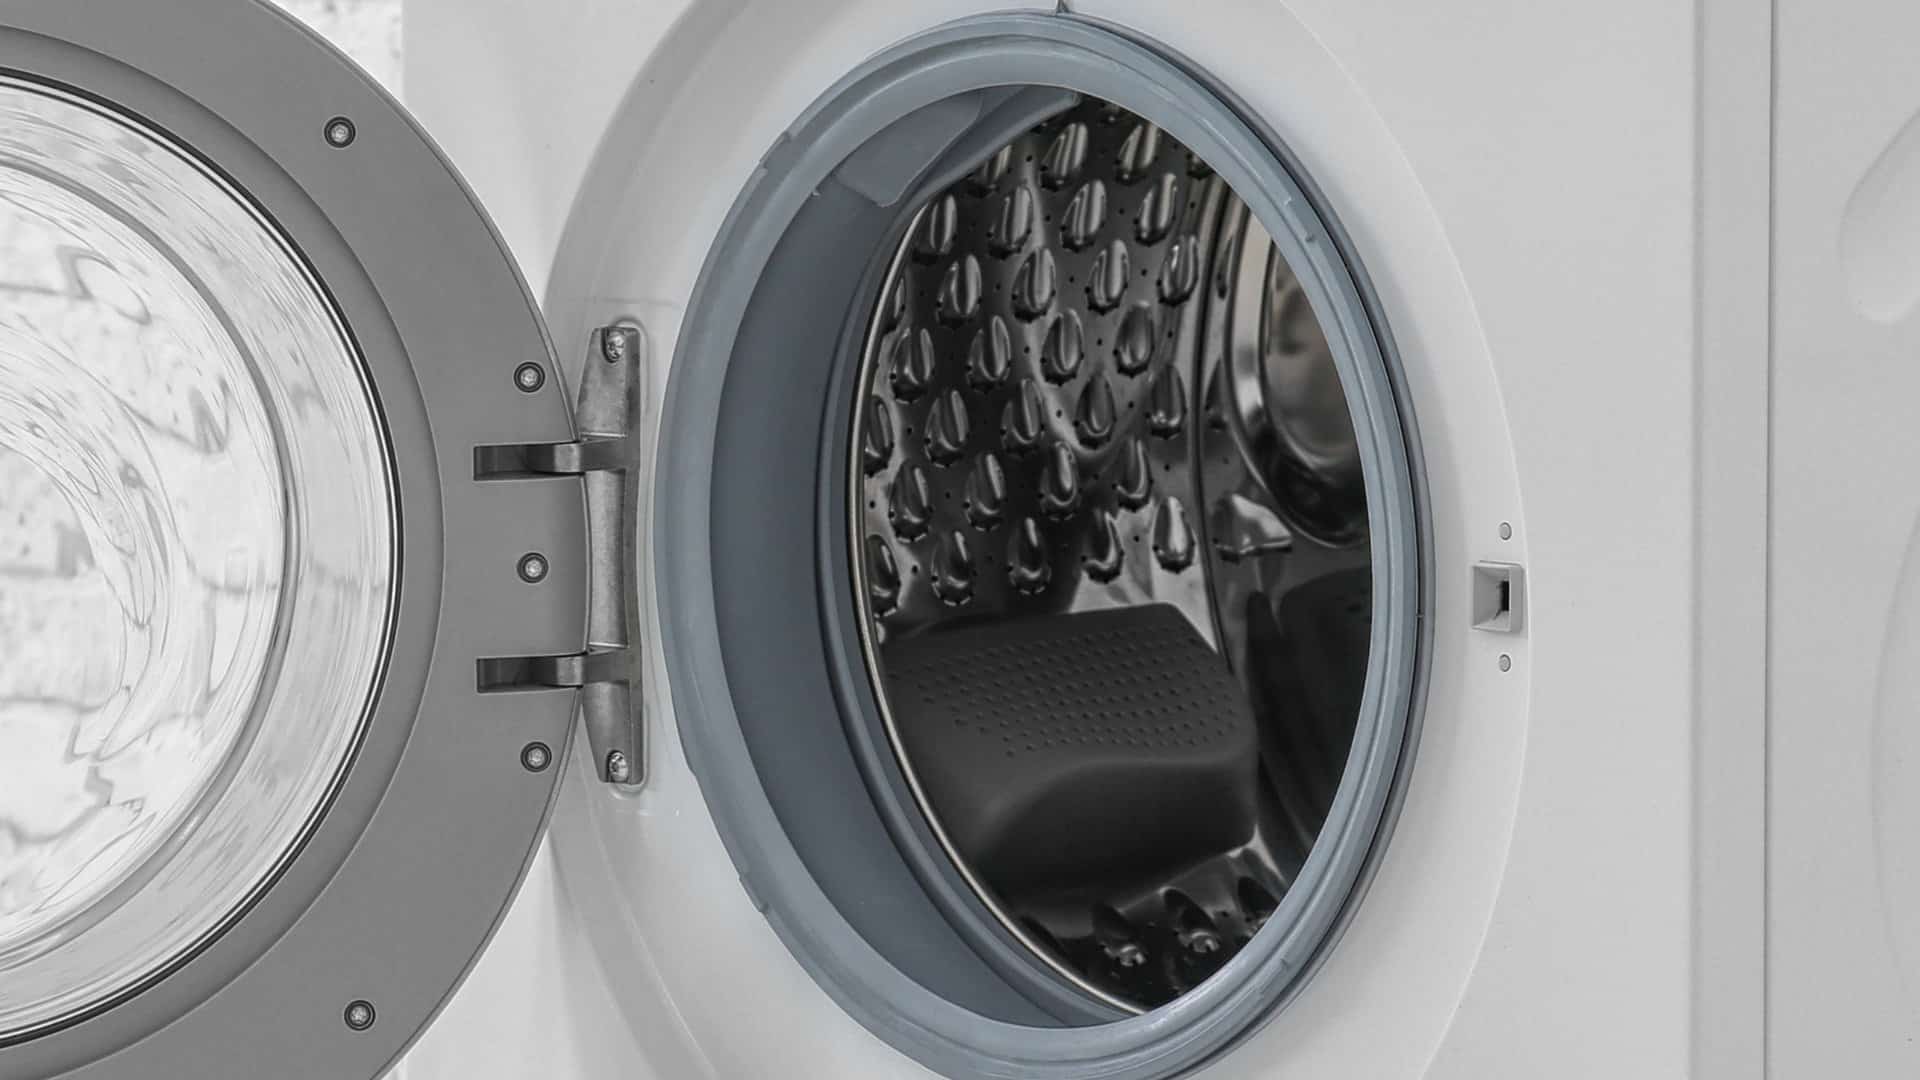
Check the Door Switch
Start by checking the door switch on the dryer. A faulty door switch is one of the most common causes of a dryer not shutting off. The door switch functions as a safety switch to prevent the dryer drum from continuing to rotate when the door is open. If your dryer is not turning off even when you open the door, then you probably have a faulty door switch.
To check it:
- Unplug the dryer from the power source.
- Locate the door switch – it’s usually found where the door opens/unlatches.
- Remove the door switch from the dryer unit – for some models, you’ll have to remove a screw to remove it or even take the front panel of the dryer off to access it.
- Use a multimeter to test the switch for continuity.
- If it passes the continuity test, then it is working correctly, and you can reattach it back into place. However, if it fails the test, then it is defective and needs to be replaced.
- Once replaced, test your dryer to see if the problem has been solved; if not, you’ll need to check the next component.
Check the Timer
The next component you need to check is the timer. When the timer becomes defective, it will cause your dryer to not shut off when it should.
To test the timer:
- Make sure that the dryer is switched off from the power source.
- Locate the timer. In most dryers, you can find the timer in the control console. You’ll have to remove the control console to get access to it. This usually involves removing a couple of screws and then unclipping the panel off the dryer.
- Once located, you need to remove it from the dryer. For most dryers, this will be possible once you’ve taken the control panel off, but for others, you’ll need to remove the panel that is behind the control panel as well.
- Once you’ve removed the switch, you need to use the multimeter again to test the switch for continuity.
- If it has continuity, then it is not defective and is likely not the cause of your dryer not shutting off, so you can place it back into the dryer in the correct position. However, if it shows no continuity, then the timer needs to be replaced.
- If you replace the timer, you’ll then need to test the dryer out to see if the problem has been solved.
Test the Cycling Thermostat
If your dryer has an auto-dry cycle, then it likely has a cycling thermostat. The cycling thermostat helps to regulate the temperature of the dryer when it is turned on. When it becomes faulty, then it needs to be replaced.
The best way to test the cycling thermostat is to:
- Make sure that the dryer is still turned off.
- Remove the top and side panels/cabinet so you can have access to the cycling thermostat.
- Locate the cycling thermostat. In most dryer models, you can find it on the blower housing.
- Remove the thermostat so you can test it.
- Use the multimeter to test the thermostat for continuity. If the test shows continuity, then you can reattach the thermostat and move on to checking the next possible cause. However, if it doesn’t have continuity, then it will need to be replaced.
- Once replaced, put your dryer back together and test if it is now working correctly. If your dryer is still not shutting off, you’ll need to test the next component.
Test the Cool-Down Thermostat
The final component to check is the cool-down thermostat (if your dryer has one). The function of this component is to work with the drive motor to allow your dryer to run after your clothes are dry until the drum temperature drops below a certain temperature. When the cool-down thermostat fails, it can cause your dryer to keep operating until you turn it off at the power source or open the dryer door.
To check the cool-down thermostat, you need to:
- Make sure the dryer is still disconnected from the power source.
- Remove the side and top panels if you haven’t already so you can access the thermostat.
- Locate the thermostat – it should be on the blower wheel housing.
- Remove the thermostat – you should be able to remove the wires by unclipping the connectors.
- Once removed, use the multimeter to test the thermostat for continuity.
- If it has continuity, then it is not defective and can be reattached to the dryer; however, if it doesn’t have continuity, then it will need to be replaced.
- Once replaced, check to see if the dryer is now working correctly. Hopefully, at this point, your dryer is working correctly; if not, then you might need to purchase a new one or get a trained technician to take a look at it.